How To: Make a Super Cheap One-Way Check Valve
If you're going to build yourself a water gun to cool down this summer, or maybe just a useful water pump, you'll need some check valves. However, the most expensive parts of a water pump or DIY super soaker are usually the check valves. So, let's make some from scratch for as little as $0.35 each. Please enable JavaScript to watch this video.
These should work for you PVC building enthusiasts!
WARNINGThe pressure tests and claims made on these check-valves are based solely on my personal experiences with the ones demonstrated in the video. Individual results may vary, and caution and care should be taken when loading the valves with high pressure.The risk of higher pressures is that the balls may be forced from the adapter, shooting out like projectiles. High pressures may also cause the ball to lock up, preventing normal operation of the valve, or possibly even structural failure of the valve altogether.These valves are not made, or claimed, to be used in any heavy duty operations. Use of this content is at your own risk.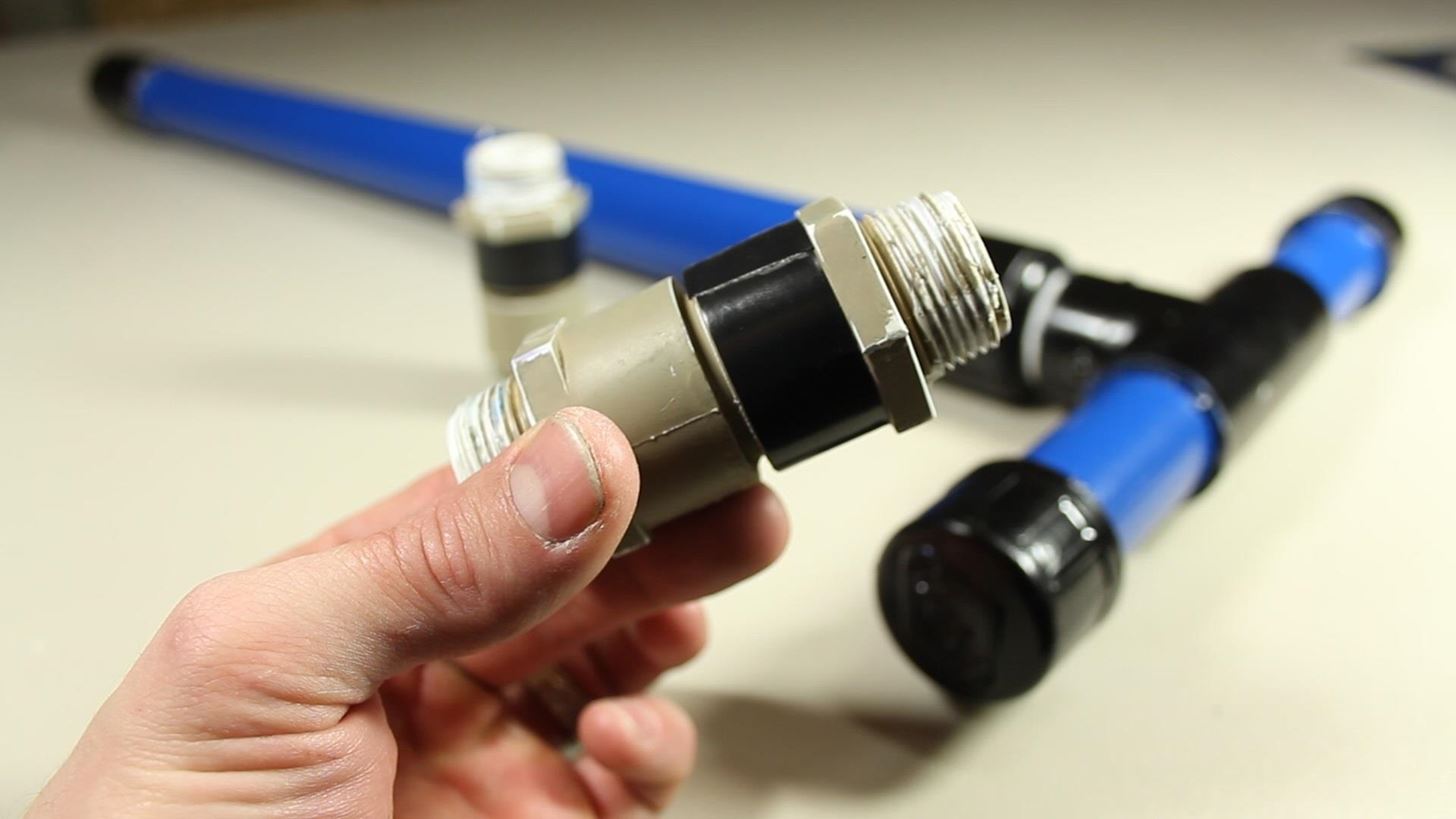
Making Your Own One-Way Check ValvesIn this project, I'll show 2 different ways to make a simple check valve. One is easy (simple, but for low pressure applications only), and one a little more complex (good up to around 50-60 PSI).
The Parts NeededIn either case, both valves will share 2 common parts.One ¾" male PVC slip adapter A length of ¾" PVC tubing (1½" or longer)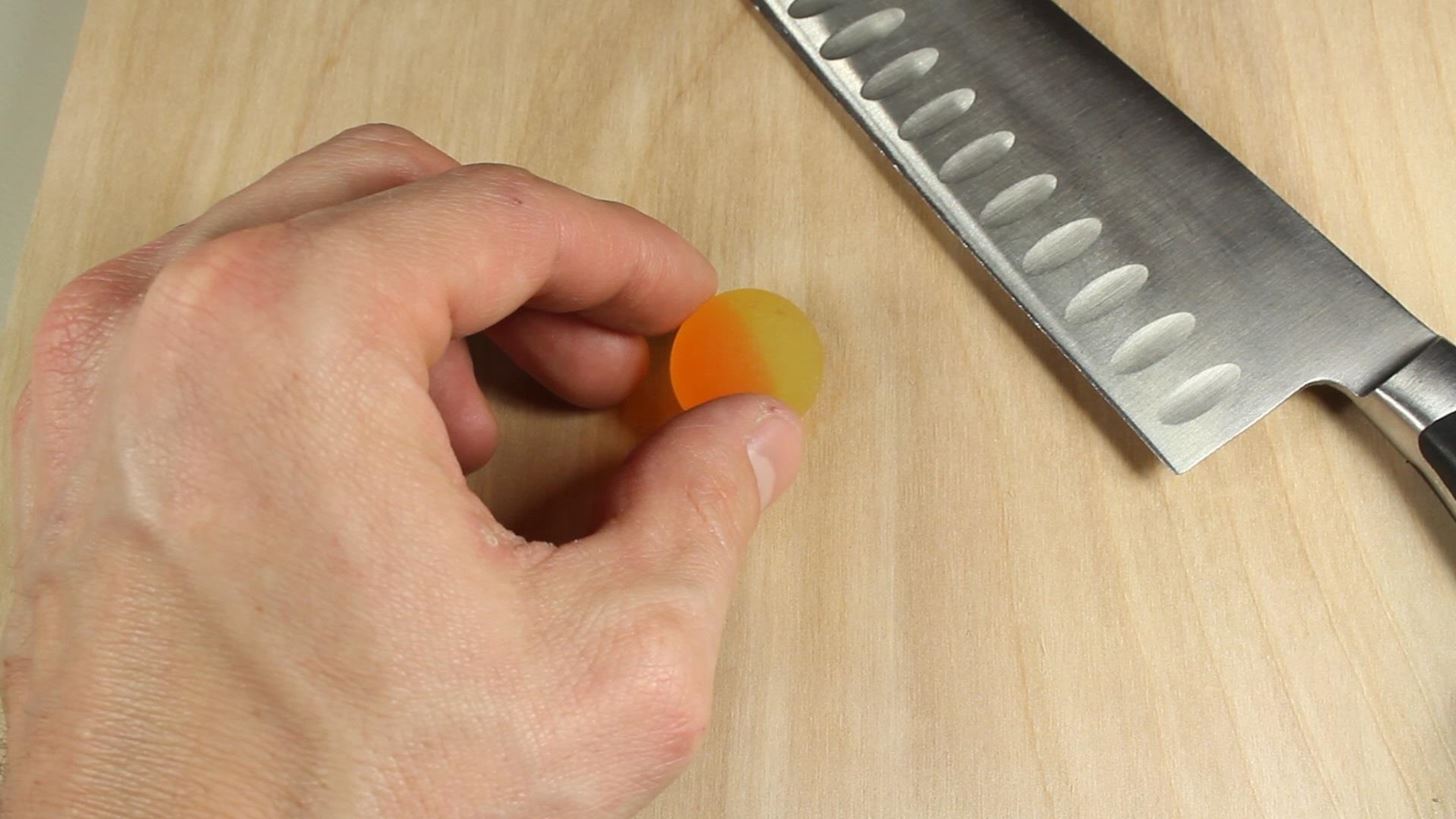
Check Valve #1: Making the Quick & Easy VersionFind a ¾" rubber bouncy ball and slowly cut off the top third. Place the ball inside the PVC slip adapter with the round side facing down, and the flat side facing up. Press the ¾" PVC tube into the slip adapter down far enough that it is firm and tight, but leaving enough room for the ball to move around a bit inside. That's it!For low pressure applications, like blowing up balloons, this little device will make your little kids feel like balloon-blowing champions. The valve allows air into the balloon, and when you stop blowing, the valve closes and the air stays in the balloon indefinitely.
Check Valve #2: Making the Stronger OneFor the second valve, we'll use the harder plastic ball and an O-ring. These are made to be a little more durable.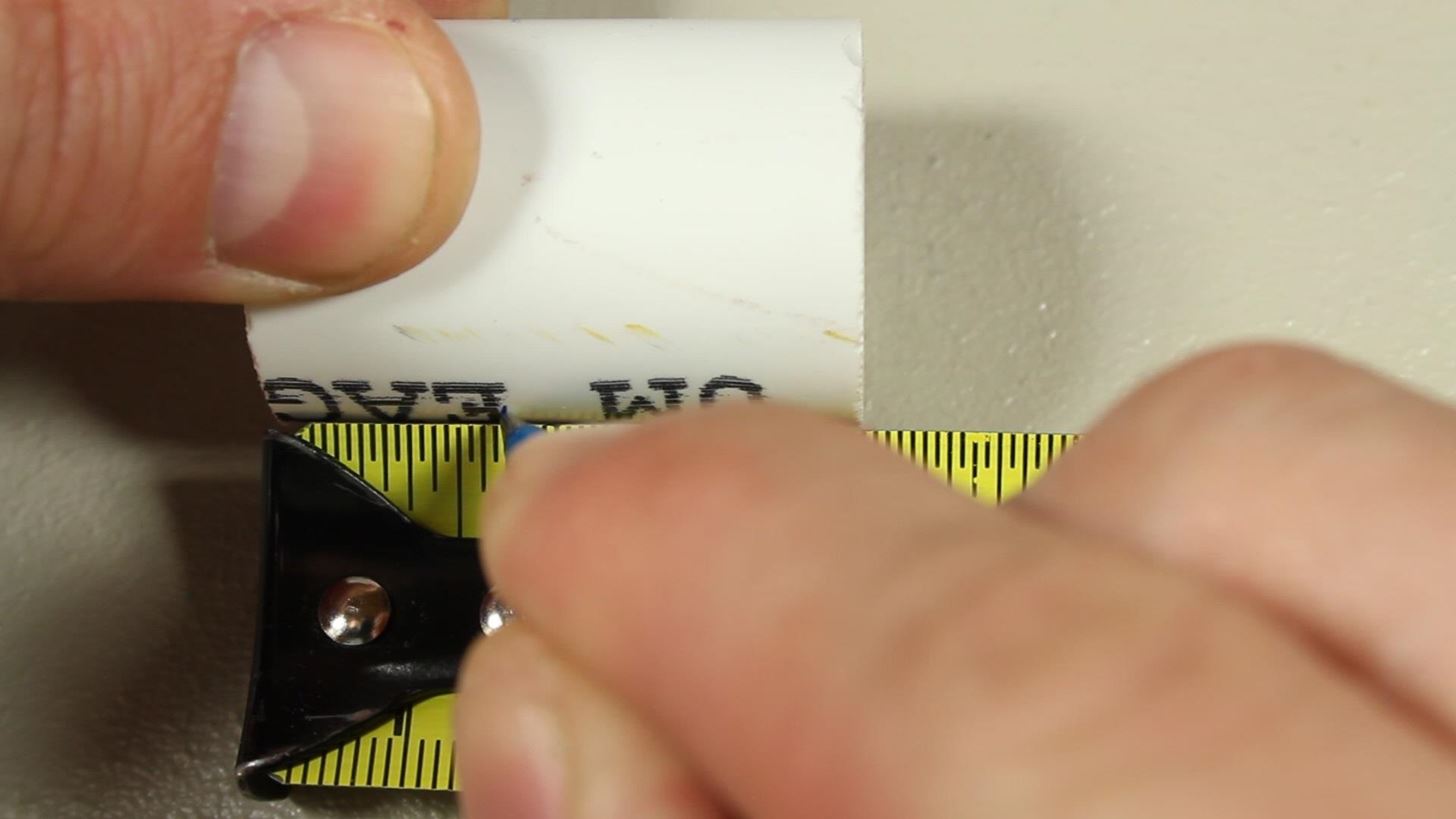
Step 1: Prepare the TubeStart by taking a piece of ¾" PVC tubing (minimum 1½") and measure 5/8" from the bottom. Drill a hole at the mark that goes through both walls of the tubing. Find a strong piece of metal, like a thick paperclip or a nail to insert into the holes. Trim the head off the nail so that both ends of the nail or paperclip are flush with the outside walls of the tube. Note: This valve can be built into any length of PVC pipe you choose.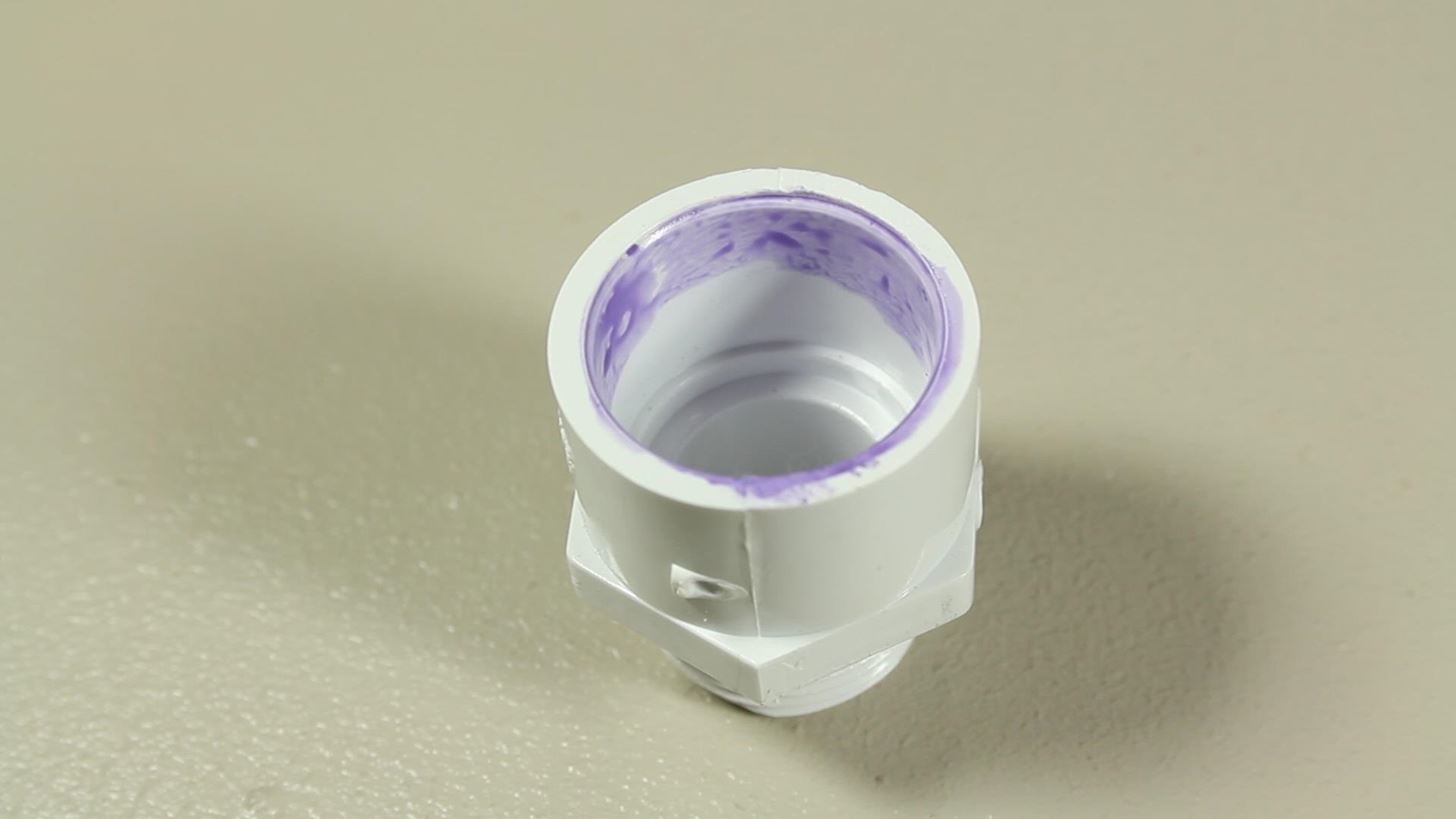
Step 2: Prepare the Slip Adapter for ConnectingPrime the inside walls of the adapter, as well as the part of the tube that will slide into it. Insert the O-ring and plastic ball into the adapter, and check for a good fit and good seal. Glue the parts that were primed, and slide the tube into the adapter until the nail holes dip just below the surface. Note: Don't press so hard that the ball is trapped in the closed position. You will need a little gap for the ball so the valve can open and close.Let the cement cure for about 2 hours before use. To make these valves more convenient, I tried adding another slip adapter to the other end of the 1½" pipe. This increases the cost by $0.34, but it's worth it. I chose 1½" as the pipe length, because when the adapters are pushed together, it leaves only a very small gap and makes the unit very compact. In the picture above, you can see the ball held in the unit by the adapter and the retaining nail preventing it from rolling it out of the tube. I also gave them a quick paint job with some spray paint, and added electrical tape to one side so the direction of flow can be easily identified, similar to the schematic symbol for an electrical diode.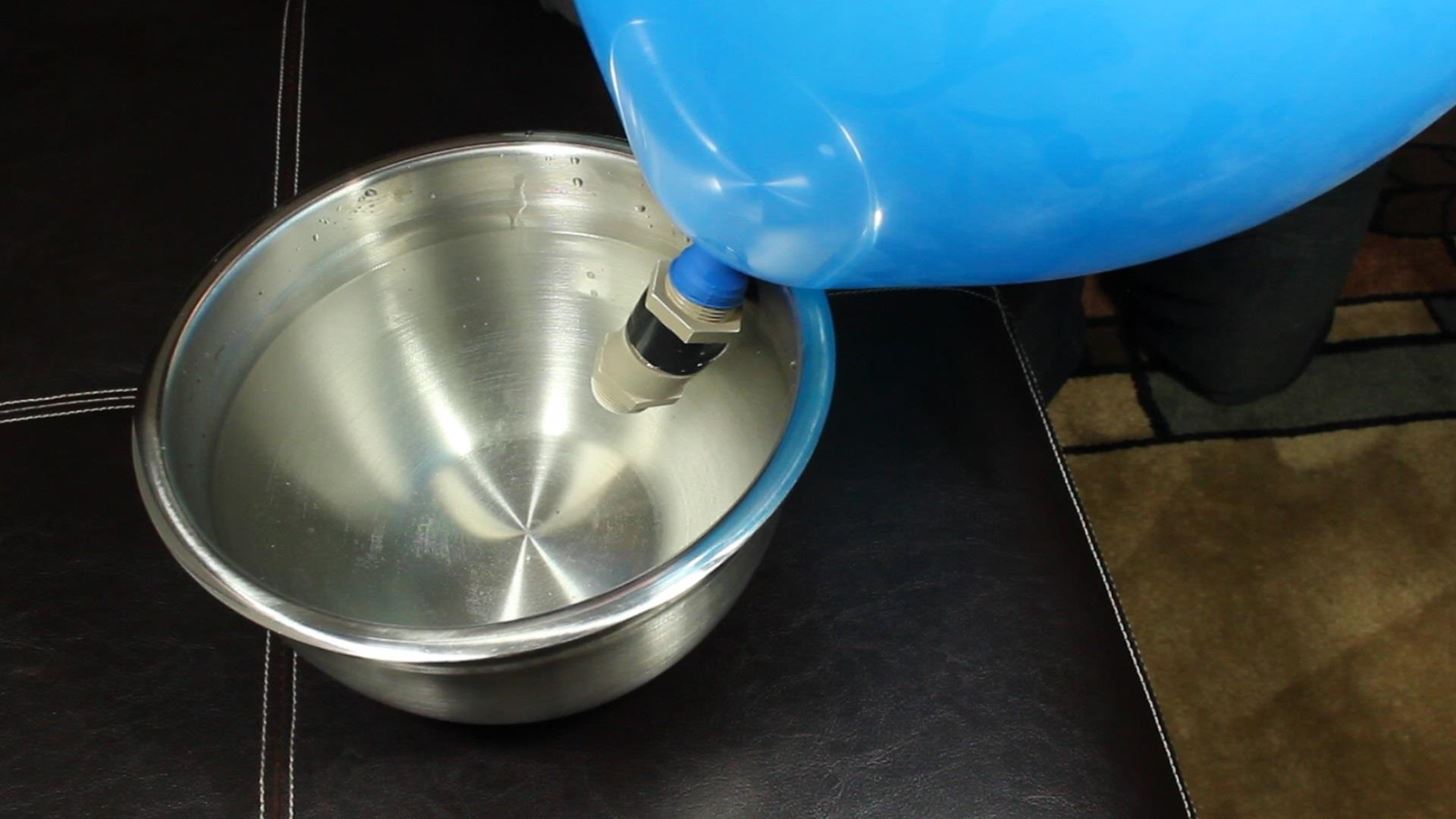
Testing Your ValveTo test your valve, use it to blow up a balloon. The balloon should stay inflated even when you stop blowing. Place the valve into a bowl of water. If there is any air escaping at all, you will see little bubbles coming from the valve. If there are no air bubbles, that means your valve is air (and water) tight. Because we used the slip adapters, the ends of the connections are threaded, and allow the valves to be integrated into any system, and switched around at will.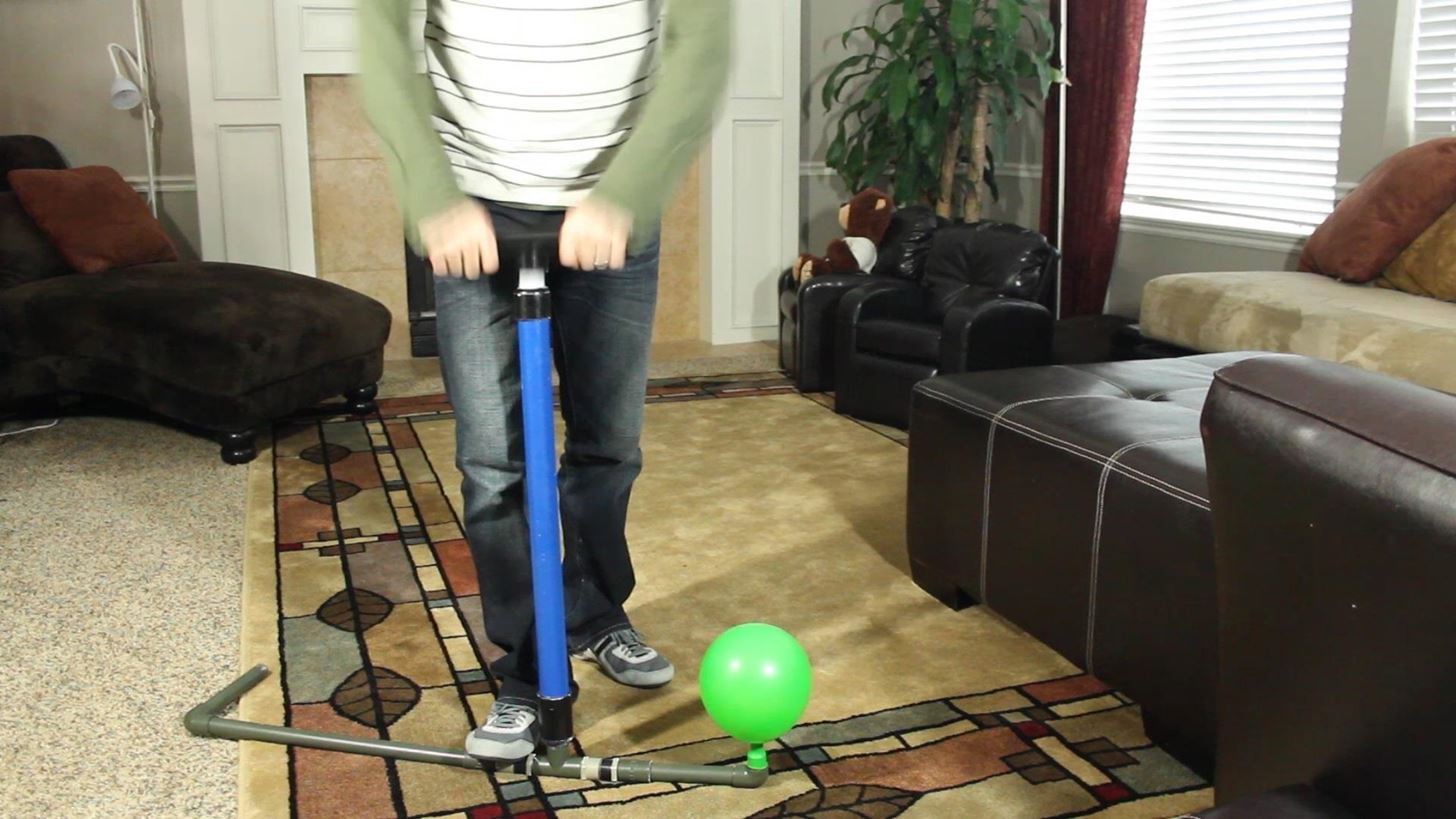
Why Make a Check Valve?My motivation in building these valves stemmed from a desire to build a PVC water pump, but the check valves were around $10.00 each. That seemed a little steep for a PVC build, so while looking for alternative options, I settled on this design, which is about the cheapest, while still being practical and useful, that I could imagine. I tried using 2 of these check valves to make a PVC water pump. It can be used as an air pump, a vacuum pump, or a water pump that will pump up to 5 gallons per minute.In my testing, the valves work great with air and water. Air pressures up to 60 PSI seemed to be fine for normal operation, while pressures above 60 PSI occasionally caused the ball to lock into the O-Ring, and required substantial "back-pressure" to unlock it.
In ClosingIf you try using rubber bouncy balls as the valve mechanism, only use them in very low pressure applications like blowing up balloons, and possibly for improvised water guns. Relatively high pressures used with these balls seems to eventually force them out of the adapter, and can shoot them out at surprising velocities.Overall, I'm really happy with the valves because they can be fit into any part of a PVC system, and can be duplicated quickly, easily, and for very very low cost.If you haven't seen the video yet, you can still see it here. And if you liked this project, perhaps you'll like some of my others. Check out my other articles here on WonderHowTo or see the videos at thekingofrandom.com.
How to Force Reboot iPhone X, Xs, Xs Max, or iPhone XR. If you ever find your new iPhone freezing, completely unresponsive or just not running smoothly, you will be able to fix the problem (normally) by force restarting the device. Step #1. First off, press and quickly release the Volume Up button. Step #2.
How to Hard Reset iPhone XS, iPhone XS Max, or iPhone XR
How to Clear The Cache (Delete Junk Files) on Smartphone Like android, windows or iOS. Delete temporary files from your phone in few minutes without any app
How to delete all data and applications from the BlackBerry
How to Circumvent an internet proxy or browser filters
This entry was posted in Weller Soldering Info and tagged Cable, capacitor in weller soldering iron, how to solder 1/8th, how to solder 55 cable, how to solder instrument, how to solder instrument wires, how to solder instruments, how to solder wires weller, howyo & smd capacitor & weld, Instrument, instrument cable fluxe, instrument of
How to Fix, Repair or Make a 1/4" Inch Guitar Cable: 8 Steps
The Essential Phone might not have been our favorite, but the company has been undeniably quick with updates. Essential first rolled out the Android Oreo 8.0 beta program for the PH-1 back in
Essential Phone now getting Android 8.1 Oreo update
How to Make a Clothespin Pocket Pistol (AKA Mini Matchstick Gun) Mini Matchstick Gun - the Clothespin Pocket Pistol: In this project we're taking boring old clothespins, and up-cycling them into powerful matchstick & toothpick shooters, that will stick into apples, and lob firey darts over 20 feet.
HOW TO MAKE A MINI MATCHSTICK GUN - THE CLOTHESPIN - YouTube
If you're looking to increase your productivity, you might think about investing in a time management course or to delegate more tasks. But while these are sound strategies, you may be better off starting right under your nose by reorganizing your desk and office space. That's because your work
Pixel phones use USB-C with USB 2.0 power adapters and cables. To charge your Pixel phone with a USB-A power adapter, use a USB-C to USB-A cable. This will charge your Pixel phone more slowly than USB-C. Other Android cables and power adapters might not work with Pixel phones. Pixel 3a, Pixel 2, and Pixel (2016) phones can't charge wirelessly.
Google Camera - Apps on Google Play
ProtonMail stores all of your email messages encrypted, which means even the company can't read your emails. Emails you send and receive with other ProtonMail users are automatically encrypted
How to Send a Self-Destructing E-mail | Reader's Digest
There are some people that find it a thrill to jump out of a plane and risk their life to experience the feeling of flying. For everyone else, there's indoor skydiving. (Thanks, technology.) In a wind tunnel with over 1,000 mph winds, you can have the same sensation only a few feet off the ground.
14 Things You Should Know Before You Go Skydiving For The
How to Use Drag and Drop in iOS 11 on iPhone Using Drag and Drop, you can move multiple apps or transfer files from one location to the other in Files app on your iPhone powered by iOS 11. Let me show you how it works the right way!
How to use Drag and Drop on iPad | iMore
the issue is that the android's screen will always be on any time im using it, draining energy and generating heat.. is there any way to have the screen off while mirroring? i will pretty much want the screen off 100% of the time
0 comments:
Post a Comment