How To: Take or Disable Live Photos During a FaceTime Video Call
Nothing has stopped you from taking a screenshot of a funny moment in a FaceTime video call before, and nothing probably will. But screenshots are old news. Apple has made it even easier to take capture FaceTime moments on your iPhone, and the results are more lively.Unlike Snapchat and Instagram, FaceTime does not have any regular screenshot restrictions. That means whenever you take a quick screenshot of a friend or family member using your Sleep/Wake + Home buttons or Volume Up + Side buttons, depending on your iPhone model, they won't receive a pop-up warning saying you did so.Better yet, Apple included a Live Photo shutter button directly in the app, so regular old screenshots will be a thing of the past. Why take a static image that likely missed the moment you wanted to capture in the first place when you can see a little video of the moment instead?Don't Miss: Change Your Caller ID to an Email Address or Phone Number Just like a regular Live Photo, a FaceTime Live Photo captures a second or two of video before and after you press the button, so you'll never miss anything good. And while there are no alerts when you take a regular screenshot, when you take a Live Photo, iOS will alert the other user, just like on Snapchat and Instagram.
Requirements & ConsiderationsTo take FaceTime Live Photos, both you and the other caller need to be running compatible iOS or macOS versions. While the feature works both in iOS 11 and iOS 12, there are some considerations to mention.IOS 11 users can only take FaceTime Live Photos of other iOS 11 users. Likewise, with iOS 12 users only being able to use the feature with iOS 12 users. All versions of iOS 11, from 11.0 to 11.4.1, will work. However, for iOS 12, only 12.1.1 and higher is compatible. But again, you can only use the feature with users on the same major iOS version. An iPhone or another iOS device must support taking Live Photos already. For iPhone, that means the 6s or newer. A participant can use macOS, but it needs to be macOS High Sierra 10.13 or higher. We have not tested both iOS 11 and iOS 12 against different macOS versions, so it's possible that 10.13 may only work with iOS 11 versions, and Mojave 10.14 may only work with iOS 12 versions. FaceTime Live Photos is enabled by default, so you don't have to worry about turning it on. If any user in the video chat manually disables FaceTime Live Photos, no one will be able to take Live Photos. Both you and the other user need it enabled for them or you to snap Live Photos. You will not be able to take Live Photos in Group FaceTime video calls. The feature is only available in one-on-one conversations and only when started as one-on-one chats since group chats with only two people can still have more users added.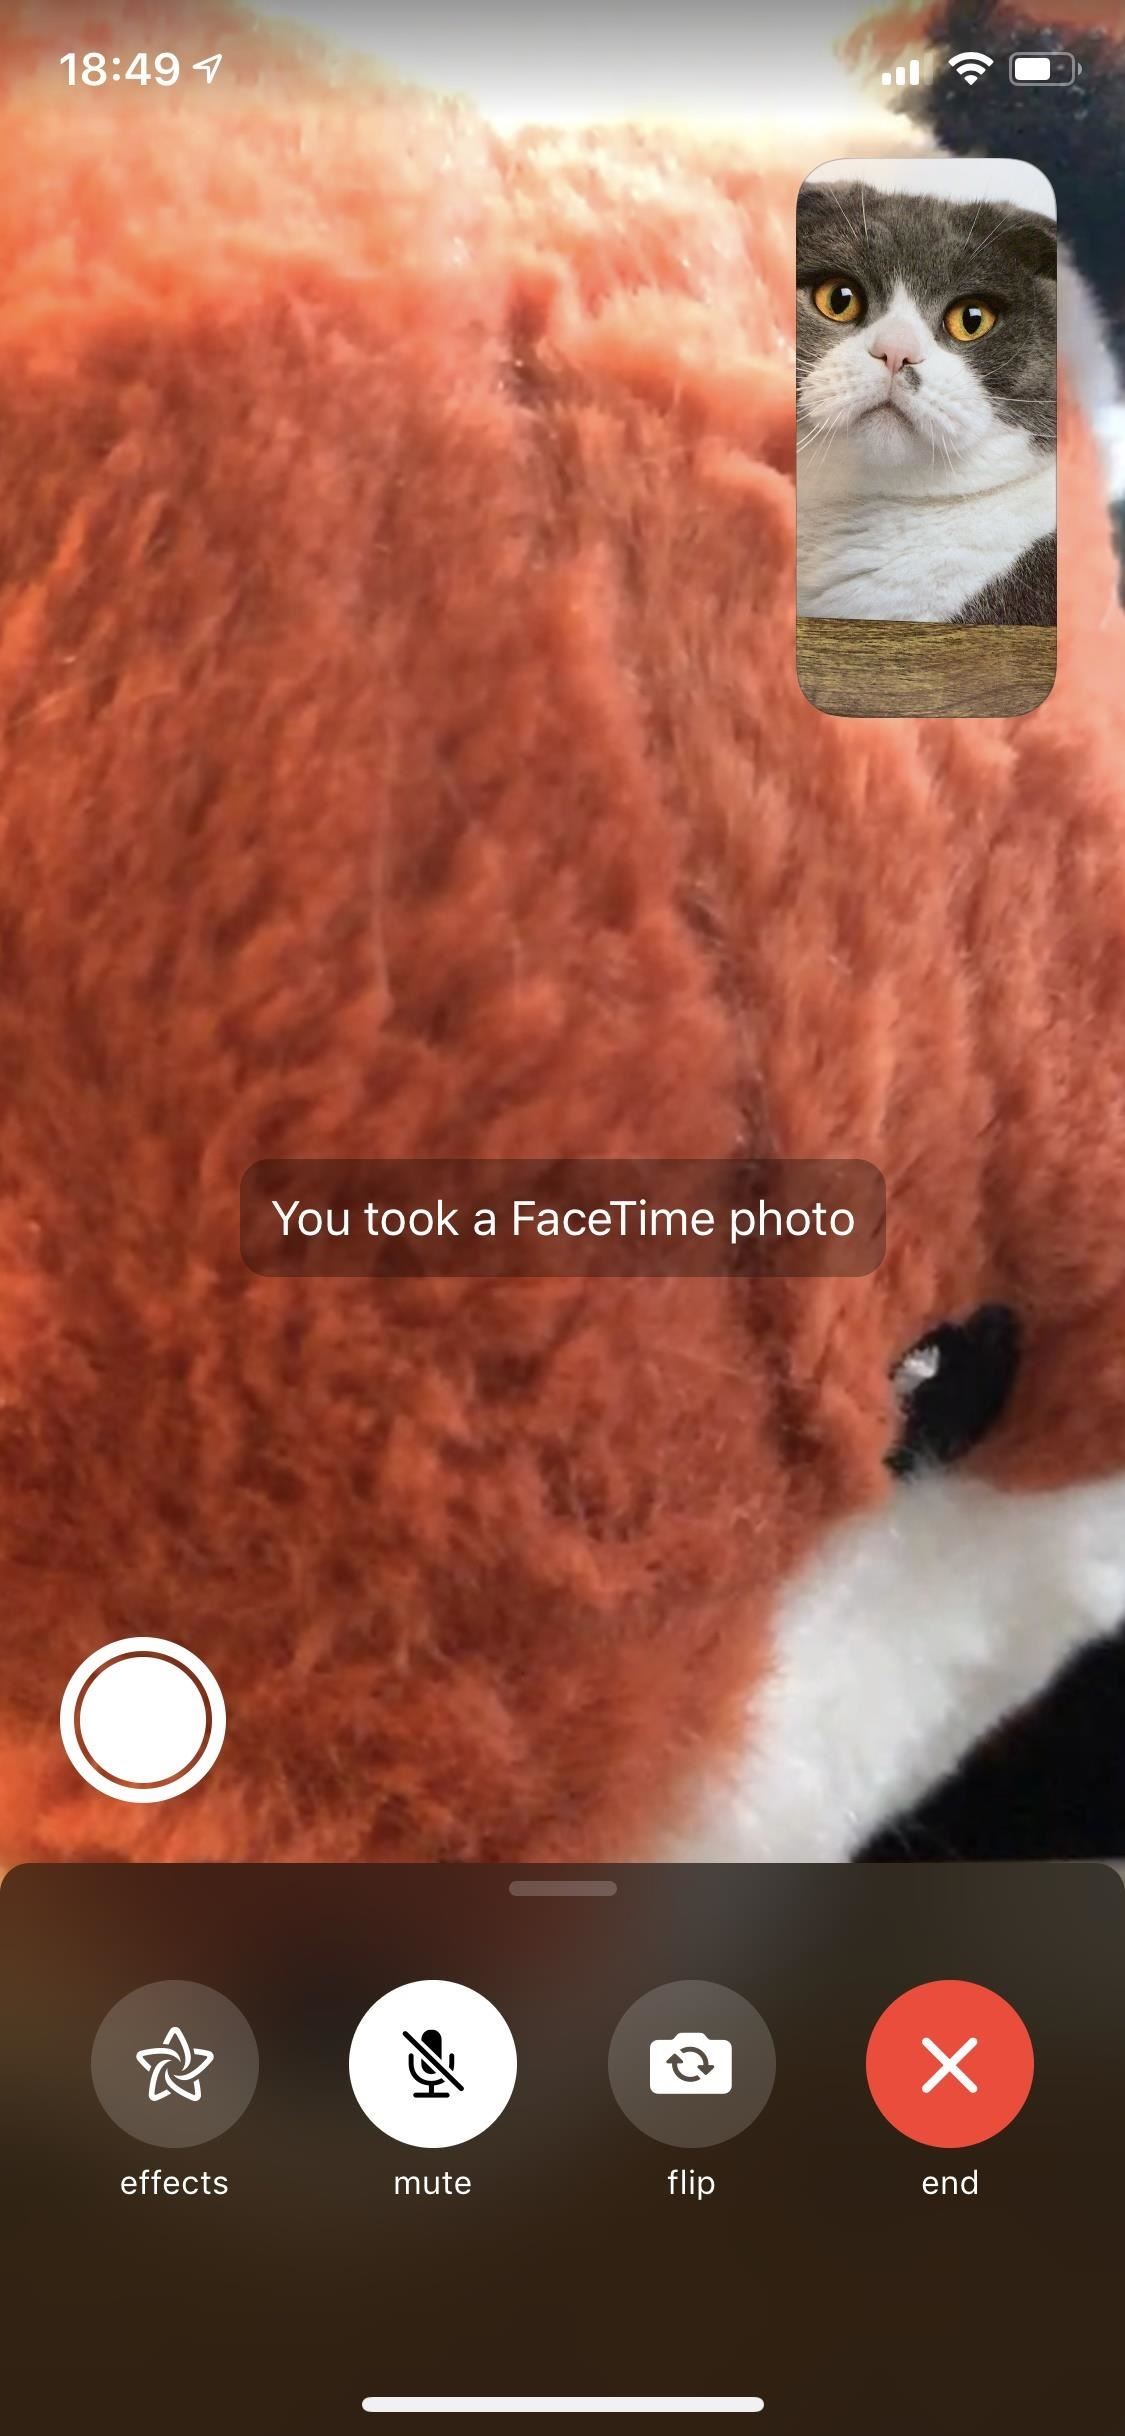
Taking a FaceTime Live PhotoWhen you're on a FaceTime video call and both you and the other person have met the requirements, you'll see a shutter button in the bottom left of your iPhone's screen. Just tap on that during an exciting moment. A Live Photo will save to your Photos app, and you'll see a toast message that says "You took a FaceTime photo" in iOS 12 and higher or "You took a FaceTime Live Photo" in iOS 11.The other user will receive an alert on their display letting them know you just took a Live Photo of them, saying "[Contact Name] took a FaceTime photo" in iOS 12 and higher or "A FaceTime Live Photo of you was taken" in iOS 11. The photo itself will not include any features of the FaceTime interface, so it's kind of like you just took a snapshot of the other user using their camera. Plus, audio from both ends of the call saves to the Live Photo, so you not only get to see a cool moment again, you can hear it as well.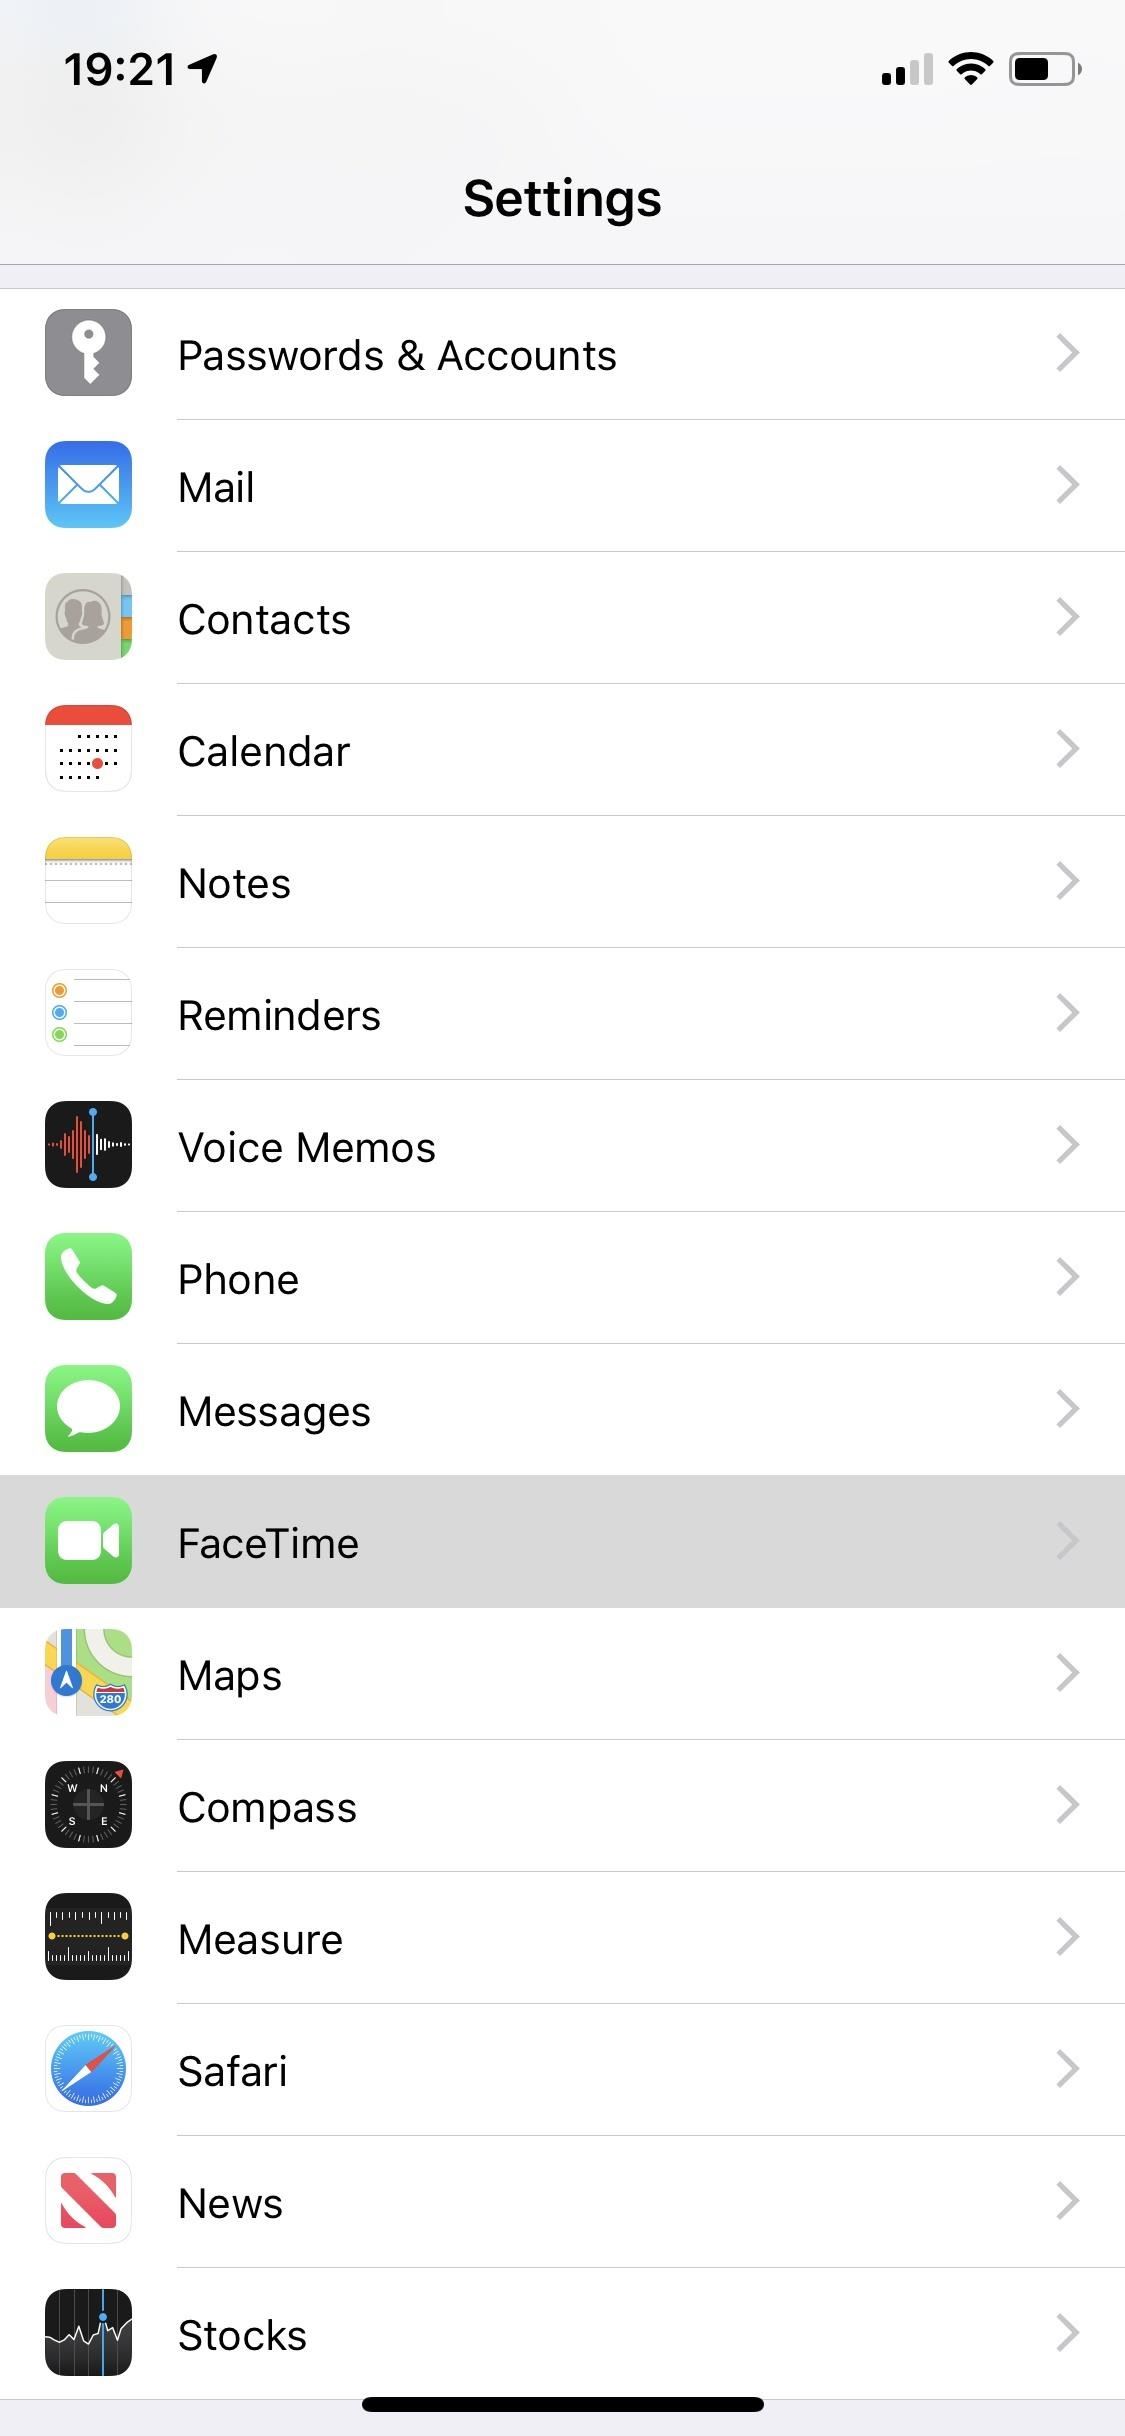
Disabling FaceTime Live PhotosWhile you cannot stop anyone you're video FaceTiming with from snapping a screenshot, you can prevent them from taking a FaceTime Live Photo. To do so, go to "FaceTime" in Settings, then toggle off the "FaceTime Live Photos" option. You will not be able to take Live Photos of other people during video calls even if the other user has the feature enabled since Apple takes an everyone or nobody approach. To disable this feature on your Mac, launch the FaceTime app, click on "FaceTime" in the menu bar, and then click on "Preferences." On the next screen, untick the "Allow Live Photos to be captured during Video calls" box.Don't Miss: Add or Remove FaceTime Email Addresses to Be Reached At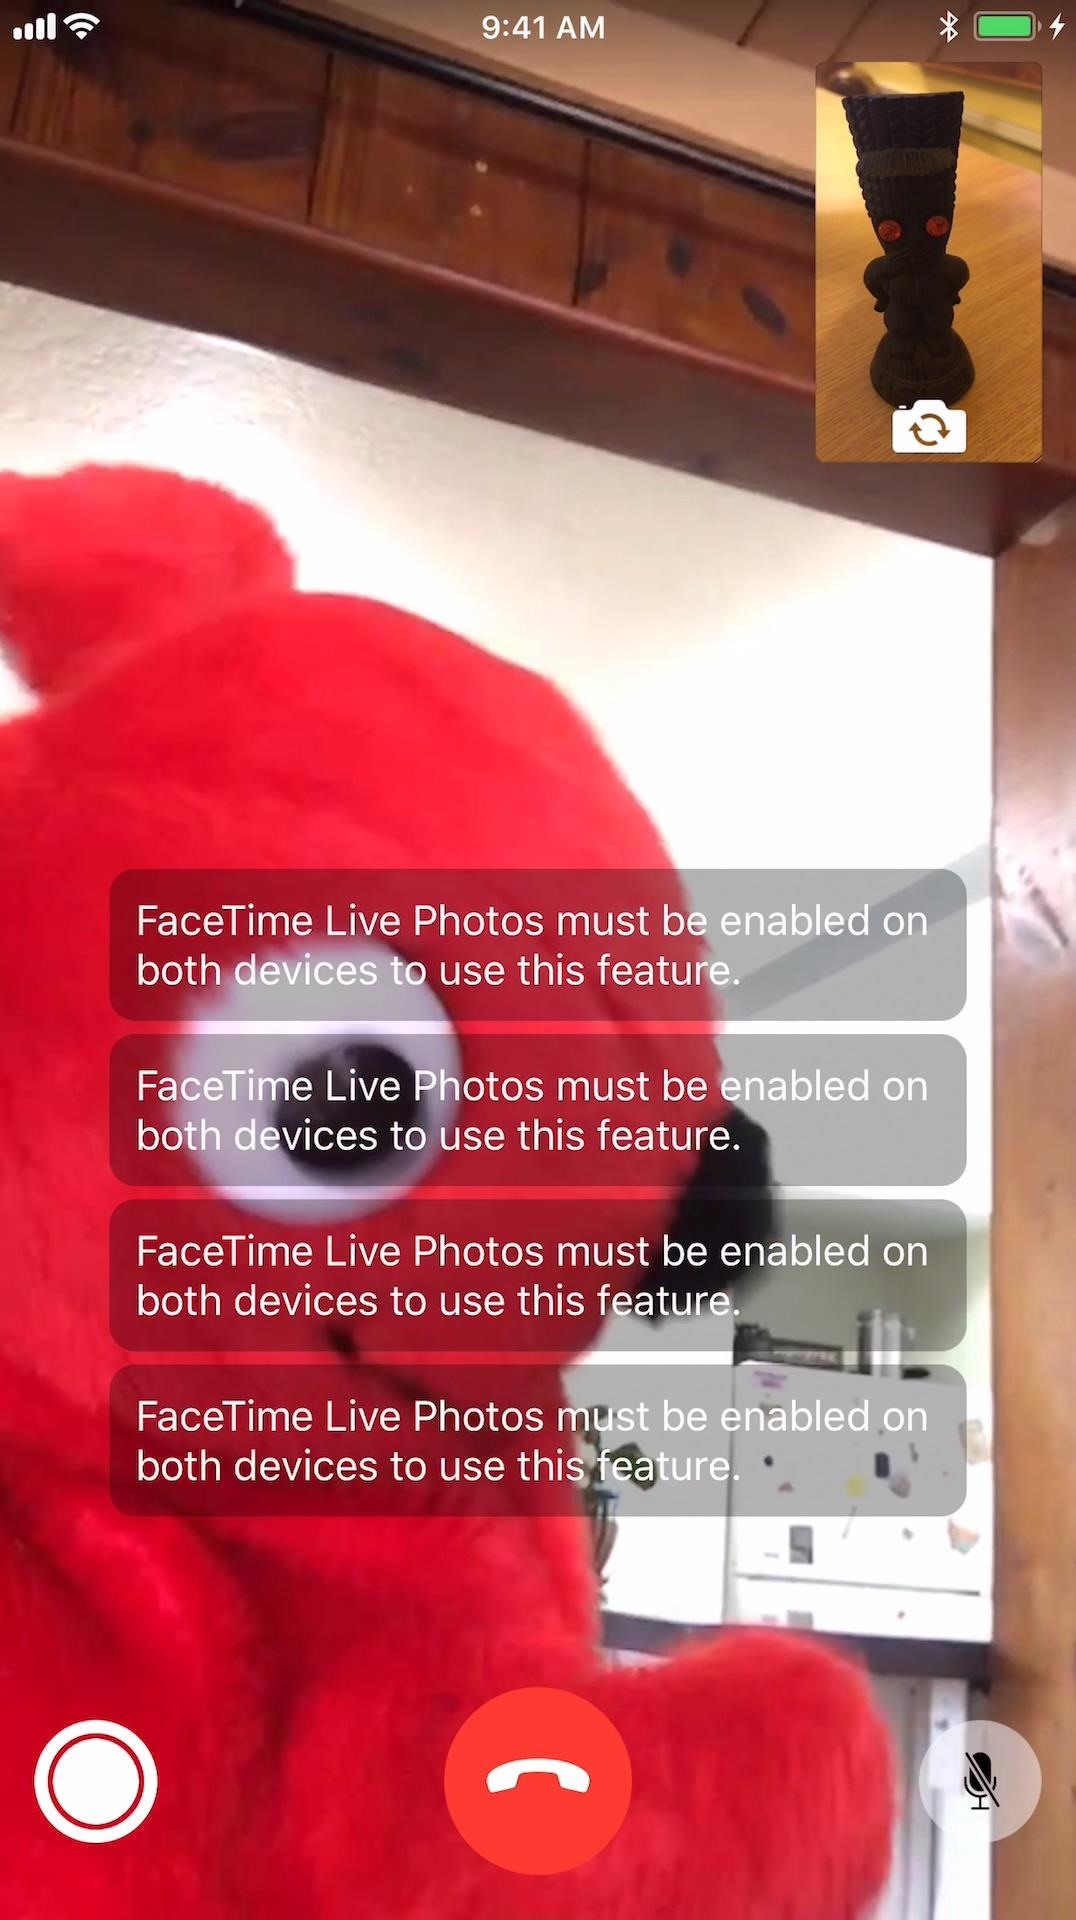
TroubleshootingIf you're running iOS 12.1.1 or higher but the other user has iOS 12.1 or lower, macOS High Sierra or lower, or an unsupported iPhone model, you'll get a "FaceTime Live Photos must be enabled on both devices to use this feature" toast message when trying to snap a Live Photo. The same thing applies if they have the feature turned off. On the other user's end, the shutter button may be grayed out or not even there.If you're running iOS 11.0 to 11.4.1, but the other user is running iOS 12.0 or higher, macOS Mojave or higher, or an unsupported iPhone model, as well as if they have the feature turned off, the same issue will arise as above.When there is no shutter button, and you know you have the feature, you may be in a Group FaceTime. In either of these scenarios, make sure to hit the "Requirements & Considerations" section above to make sure everyone is set up right. On the left, you can see the toast message that appears when trying to take a Live Photo. On the right, you can see iOS 10, which has no shutter button. Don't Miss: Use FaceTime's Group Chat on Your iPhone to Talk to More Than One Person at a TimeFollow Gadget Hacks on Pinterest, Reddit, Twitter, YouTube, and Flipboard Sign up for Gadget Hacks' daily newsletter or weekly Android and iOS updates Follow WonderHowTo on Facebook, Twitter, Pinterest, and Flipboard
Cover image, screenshots, and GIF by Justin Meyers/Gadget Hacks
By Android Terminal I assume you mean a terminal emulator running on an Android device. Android at its core is a Linux operating system, so it supports all functionality that Linux has to offer.
How to Hack an Android phone: Beginner guide to Advance
The Trick to Inserting Line Breaks into Instagram Captions
I apologize for some wrong verbiage. I have never done this before. First, I have a Samsung Galaxy Tab A. When I said "external storage," I actually meant the SD micro chip, which I purchased separately and installed in the top of the tablet.I cannot find anything in the settings about the SD chip, except to encrypt it.
Solved: Samsung s8 internal storage - Samsung Community
Combine WhatsApp, Facebook, & Other Messengers into One App
News: Google's New App Fixes Everything Annoying About Apple's Live Photos News: Thanks to Google, iPhone Users Can Finally Pick a New Frame for Their Live Photos How To: 3 Ways to Try the Pixel 2's New 'Motion Photos' on Any Android
How to Bring Apple's 'Live Photos' Feature to Your Android
The Flashlight That Finally Lets You - Samsung Galaxy Note 2
Hi, Many of you curious about changing boot animation in samsung mobile. You know samsung uses qmg like boot animations. So it is complex to create own boot animation than creating zip boot animation.In this tutorial I have replaced the qmg files with zip boot animations. I have tested on my Samsung Galaxy Core Prime.
How to Change Your Boot Animation - XDATV - xda-developers
Apple Watch Vulnerability Lets Thieves Use Apple Pay Without
Fortunately, there's a better way to catalog your recipes so you can always have them on hand. Enter Prepear, a multi-purposed app that is all about recipes. Sure, apps like Paprika exist, but Prepear is a great (and free) alternative. It lets you easily store them, group them, even add the food from your recipes to your shopping lists.
31 ways to optimize your smartphone | Popular Science
How To: Use your iPhone's touchscreen keyboard with these tips How To: Protect a touchscreen device against rain (cheaply) How To: Fix Laggy Touchscreen Responsiveness on the OnePlus 3 & 3T How To: Replace a Broken Home Button with a Soft Key on Your Samsung Galaxy Note 2
How to Build an infrared pen cheaply « Hacks, Mods
To revive a cell phone battery, start by removing the battery from your phone. Next, seal it in a plastic bag inside a plastic container, and place it in the freezer for at least 12 hours. When you take it out of the freezer, wipe any moisture off of the battery and allow it to warm up to room temperature.
My phone died and now won't power on or charge. Here's how to
Apple iPhone 8: A round-up of everything we know of the phone, smartwatch and more Here's everything you need to know about Apple's much awaited iPhone 8 event.
Everything You Need to Know About Apple's New iPhone 8
0 comments:
Post a Comment