How To: Completely Disable Bixby on Your Samsung Galaxy
Sorry Samsung. I know you really wanted Bixby to be the next Siri, Google Assistant, or Alexa — but it just isn't. Burying the option to disable the app won't change that. Sure, Bixby has some redeeming qualities, but there are many of us who don't want it shoved down our throats. We'll show you how to disable the app to prevent it from launching every time you try to access just about anything.You might be wondering what we're even talking about — perhaps the option to disable Bixby is right there in the settings. While this is true for many, this has not been the case with the Galaxy Note 9 and a few other device. Also, the path to get there isn't totally intuitive, and it can be a frustrating when the app constantly pops up like a pushy salesman. For Note 9 users, a Bixby update with an option to at least partially disable the button is headed your way soon, if it isn't already here.To ensure you have as many options at your disposal as possible, make sure Bixby is up-to-date. You can access the Bixby app by pressing the dedicated Bixby button. Tap "More Options," which is represented by three vertical dots in the right corner. Select "Settings" and scroll down to find the "About Bixby" option. If you receive a popup that notifies you an update is available, tap "Update" to start the process. Alternatively, you can manually press "Update" from the About Bixby screen.Don't Miss: How to Remap the Bixby Button on Your Galaxy Note 9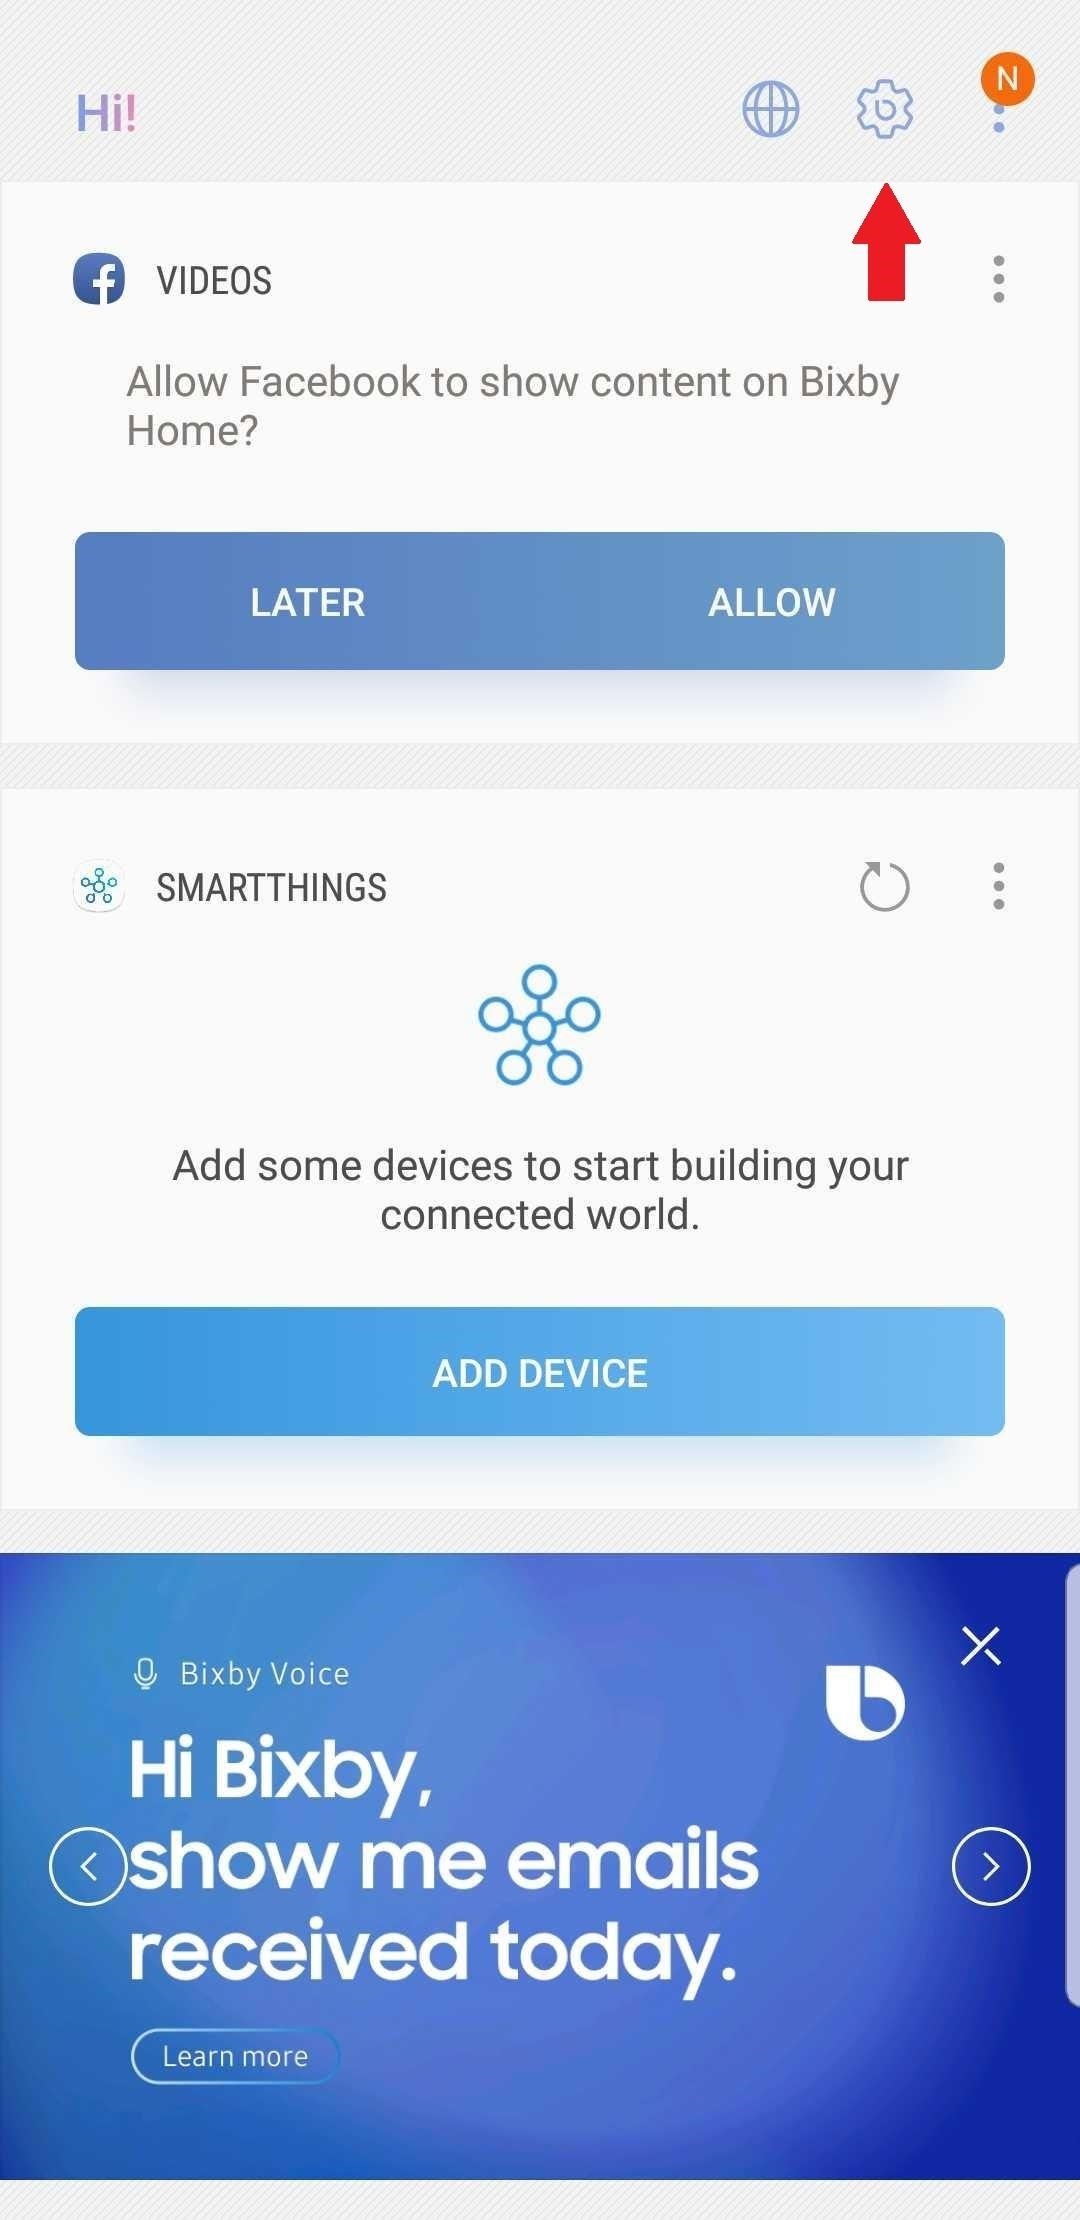
Method 1: Disable Bixby Button from SettingsSo if you do have the option to disable Bixby from Settings (lucky you), here's how it's done. Launch the Bixby Assistant by pressing the unnecessarily large button located directly below the volume rocker on the left side of your Samsung. In the upper-right corner of your screen, you'll see the Settings icon, which resembles a cog or gear. Tap it, and you will be presented with the option to toggle or slide the Bixby setting to an OFF position. You can also go to the Bixby Menu (three vertical dots stacked in the upper-right corner) to get to Settings. Once you've tapped the Settings option, scroll down to find the "General" section. Select "Bixby key." Now choose "Don't open anything." If you ever decide you want to turn this back on, long-press any blank space on your home screen, then swipe over to the right and make sure the toggle next to "Bixby Home" is enabled. Then, press your home button and swipe over to the leftmost page (Bixby Home). From there, tap the settings cog again, then enable the switch next to "Bixby key."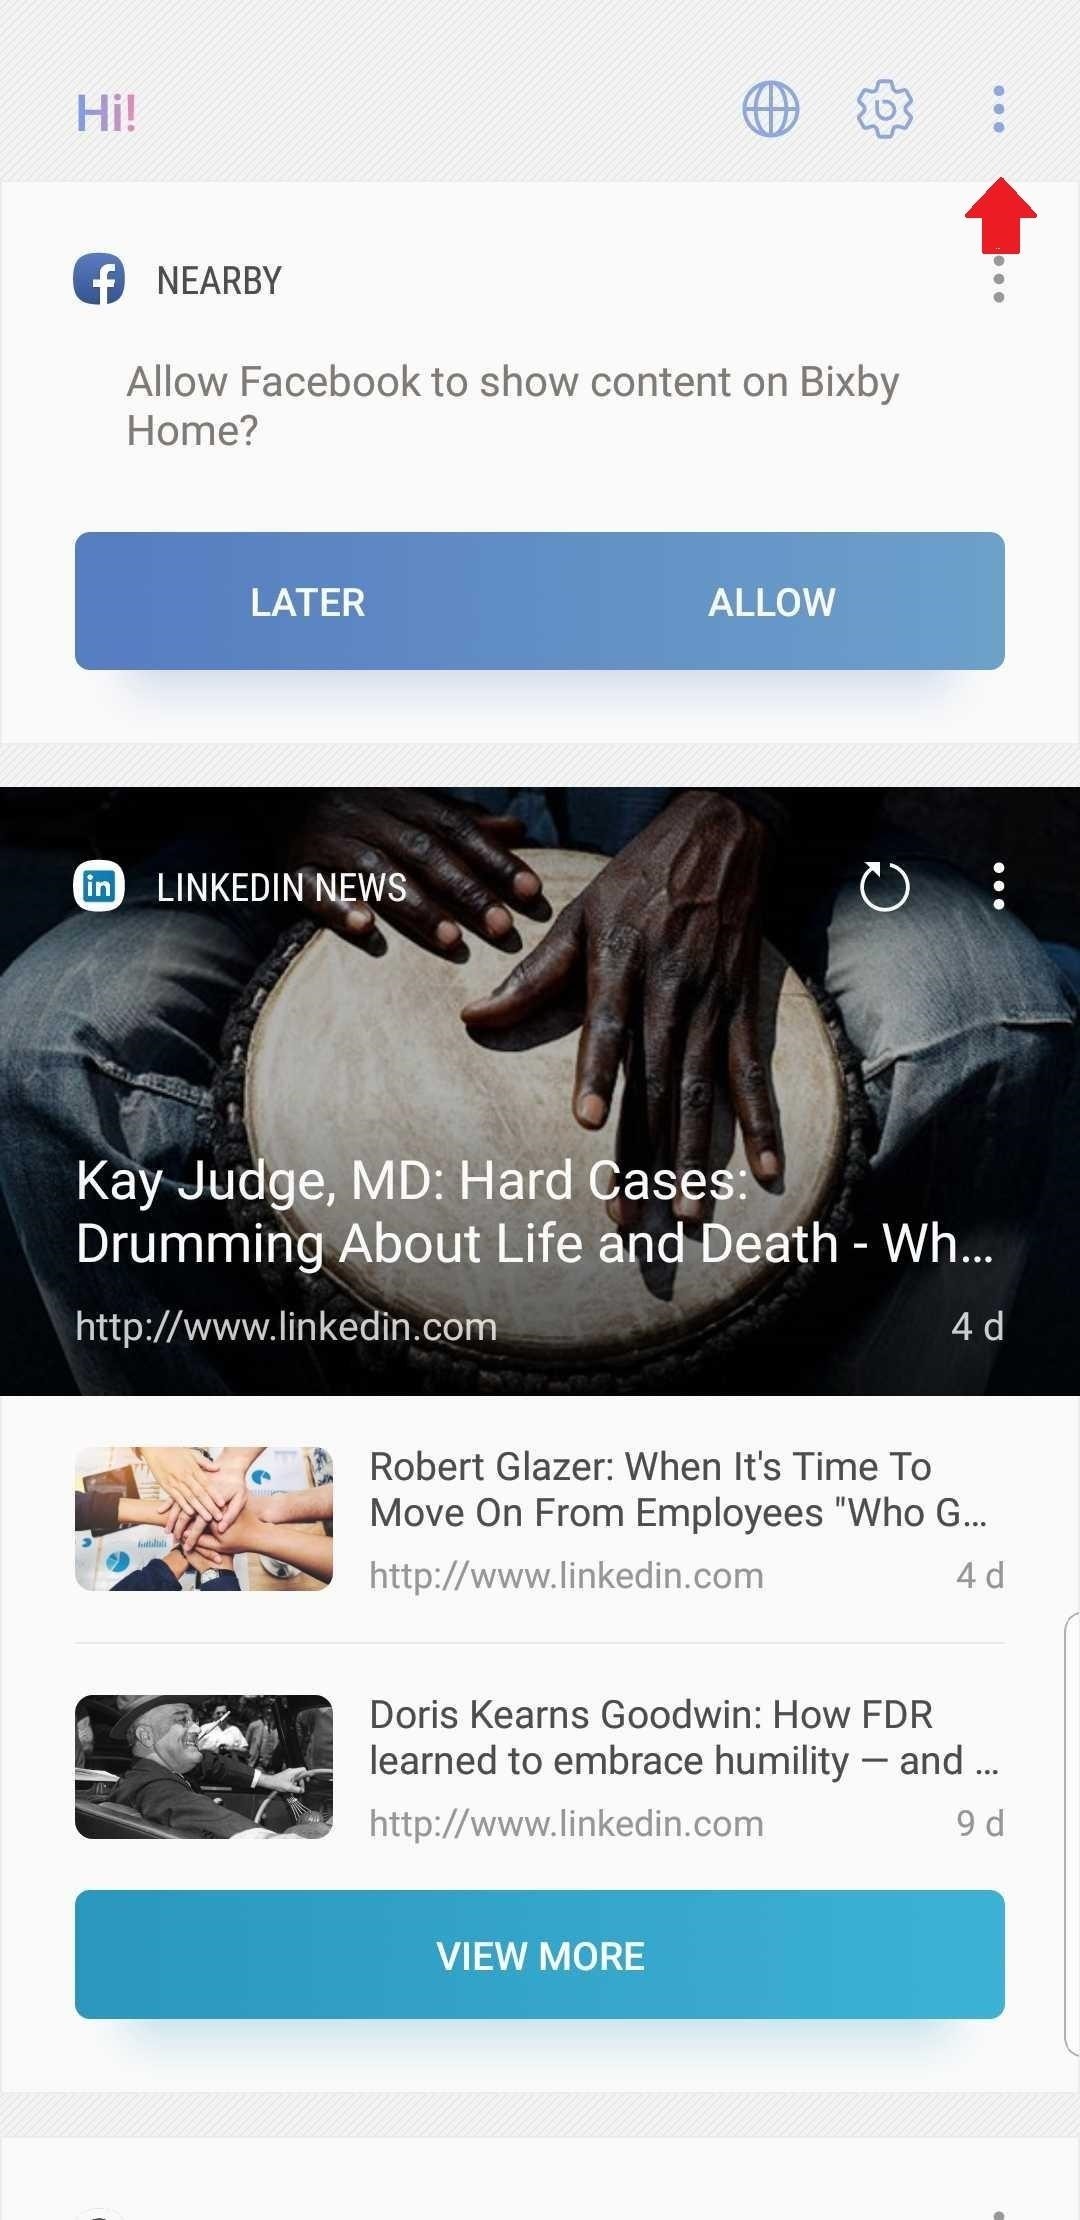
Method 2: Turn Off Bixby Voice via SettingsThe option to disable Bixby Voice is available from Bixby's Home settings, so it makes sense to address Voice before Home. If you went the route of accessing the Bixby Menu in the previous method, you will find this procedure quite similar.Start by launching the Bixby app. If you've disabled the button, you'll need to open Bixby by swiping to the right on your home screen until you reach Bixby Home. If you've disabled Bixby Home, you may have to enable it again by long-pressing any blank space on your home screen, then swiping to the right and turning on the "Bixby Home" toggle. If you're using a third-party home screen, you'll have to temporarily switch back to Samsung Experience Home to do this. The Bixby button can also get you there if you haven't already disabled it.Once you are inside of the Bixby app, tap the three vertical dots in the top-right corner. Go to Settings. Swipe down to locate the "Voice" section. There you'll find the toggle that you can tap or slide to shut off the service. Again, if you decide you want to turn this feature back on, make sure Bixby Home is enabled by long-pressing any empty space on your home screen and swiping over to the right, then enabling the toggle. Afterwards, hit your home button and swipe over to the leftmost home screen page, then repeat the above steps to turn the Bixby Voice toggle back on.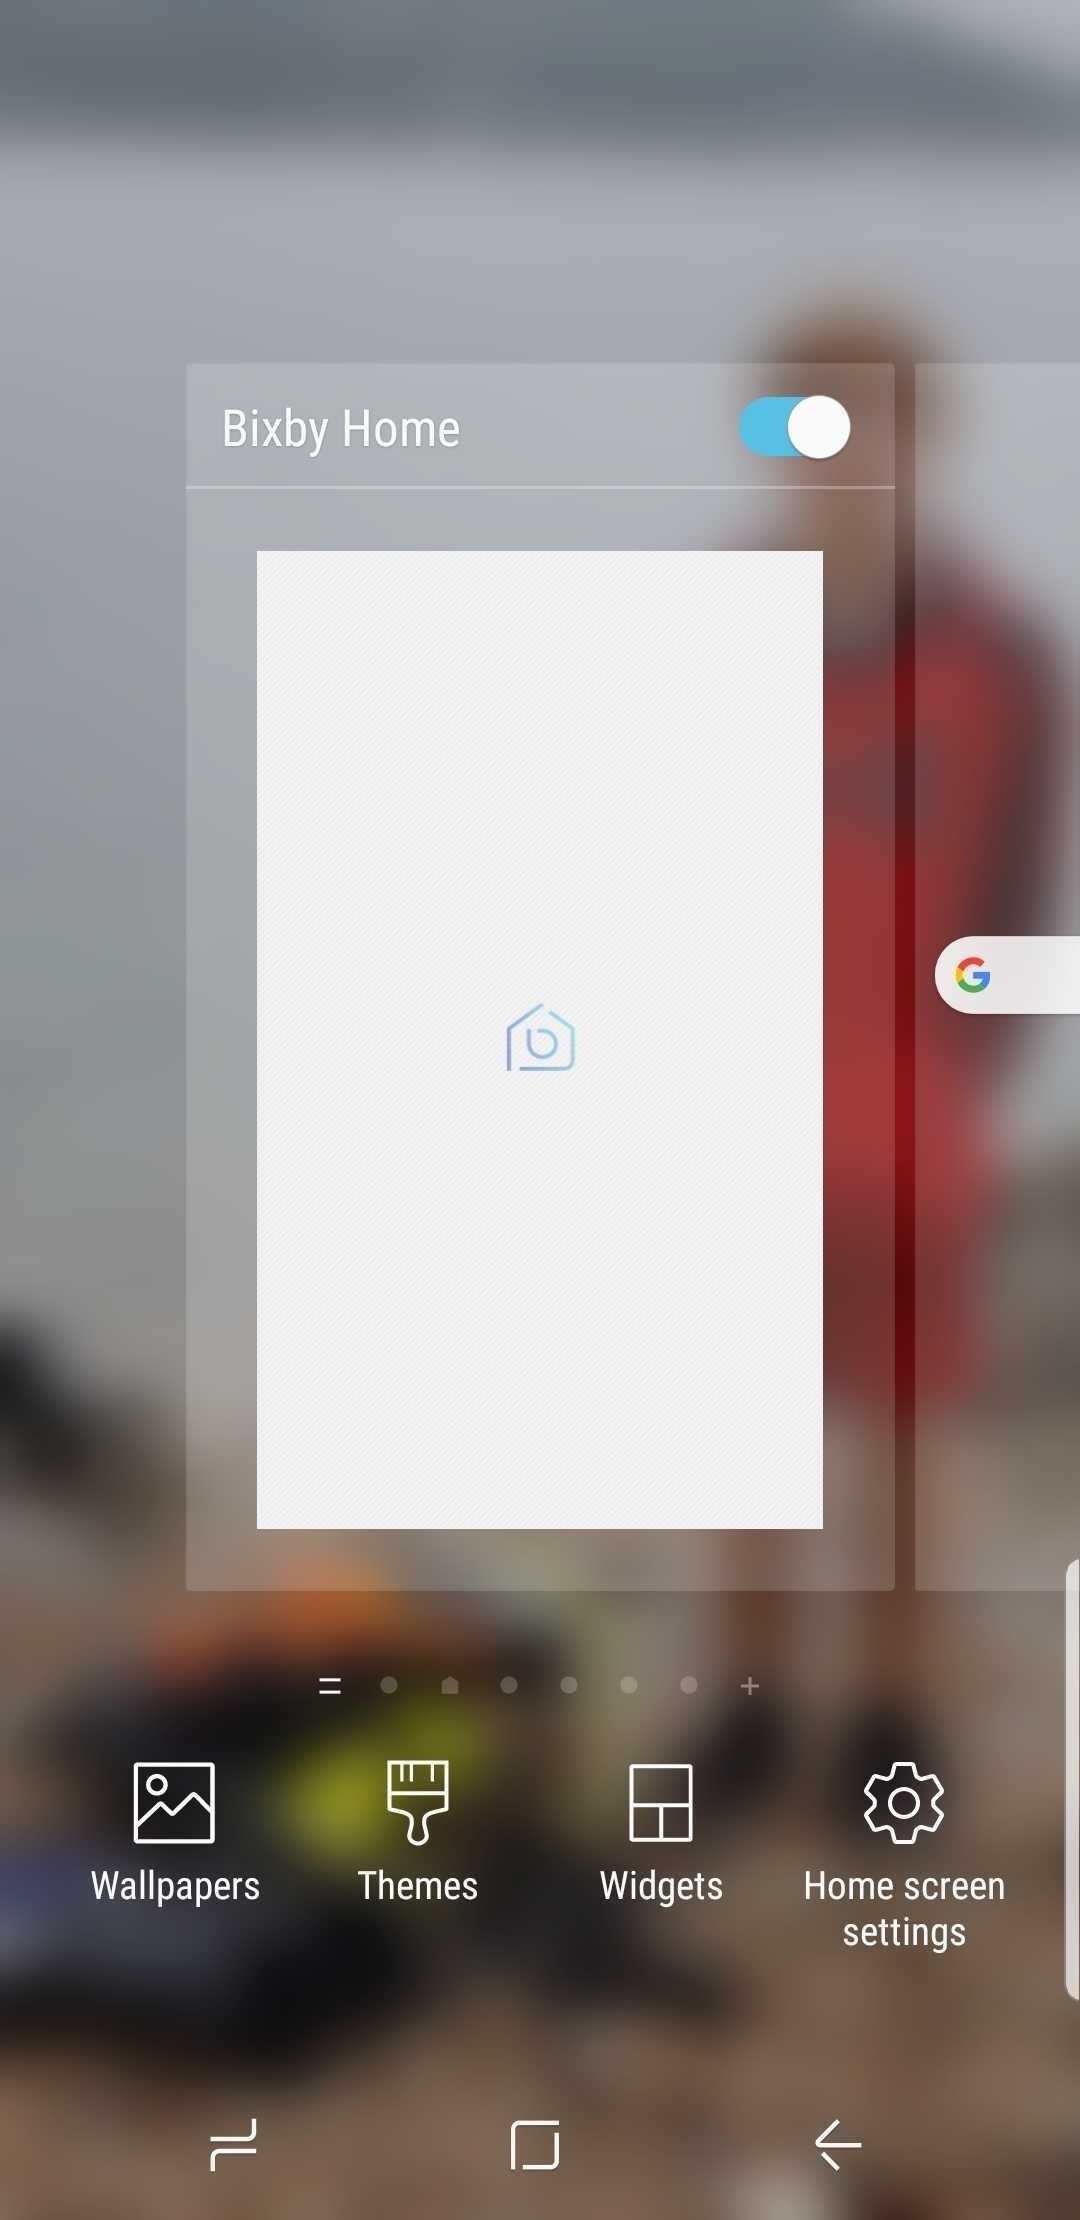
Method 3: Disable Bixby Home with a Long-PressIf you've conquered the giant button but Bixby is still popping up like a pesky fly, the culprit is Bixby Home. This Bixby service resides on the left side of your home screen, ever so eager to assist. To get rid of it, long-press any blank space on your home screen. Swipe to the right to find Bixby Home, and tap the toggle switch to turn it off. If you ever want to turn this feature back on, simply repeat the above steps, but set the toggle to the "On" position instead.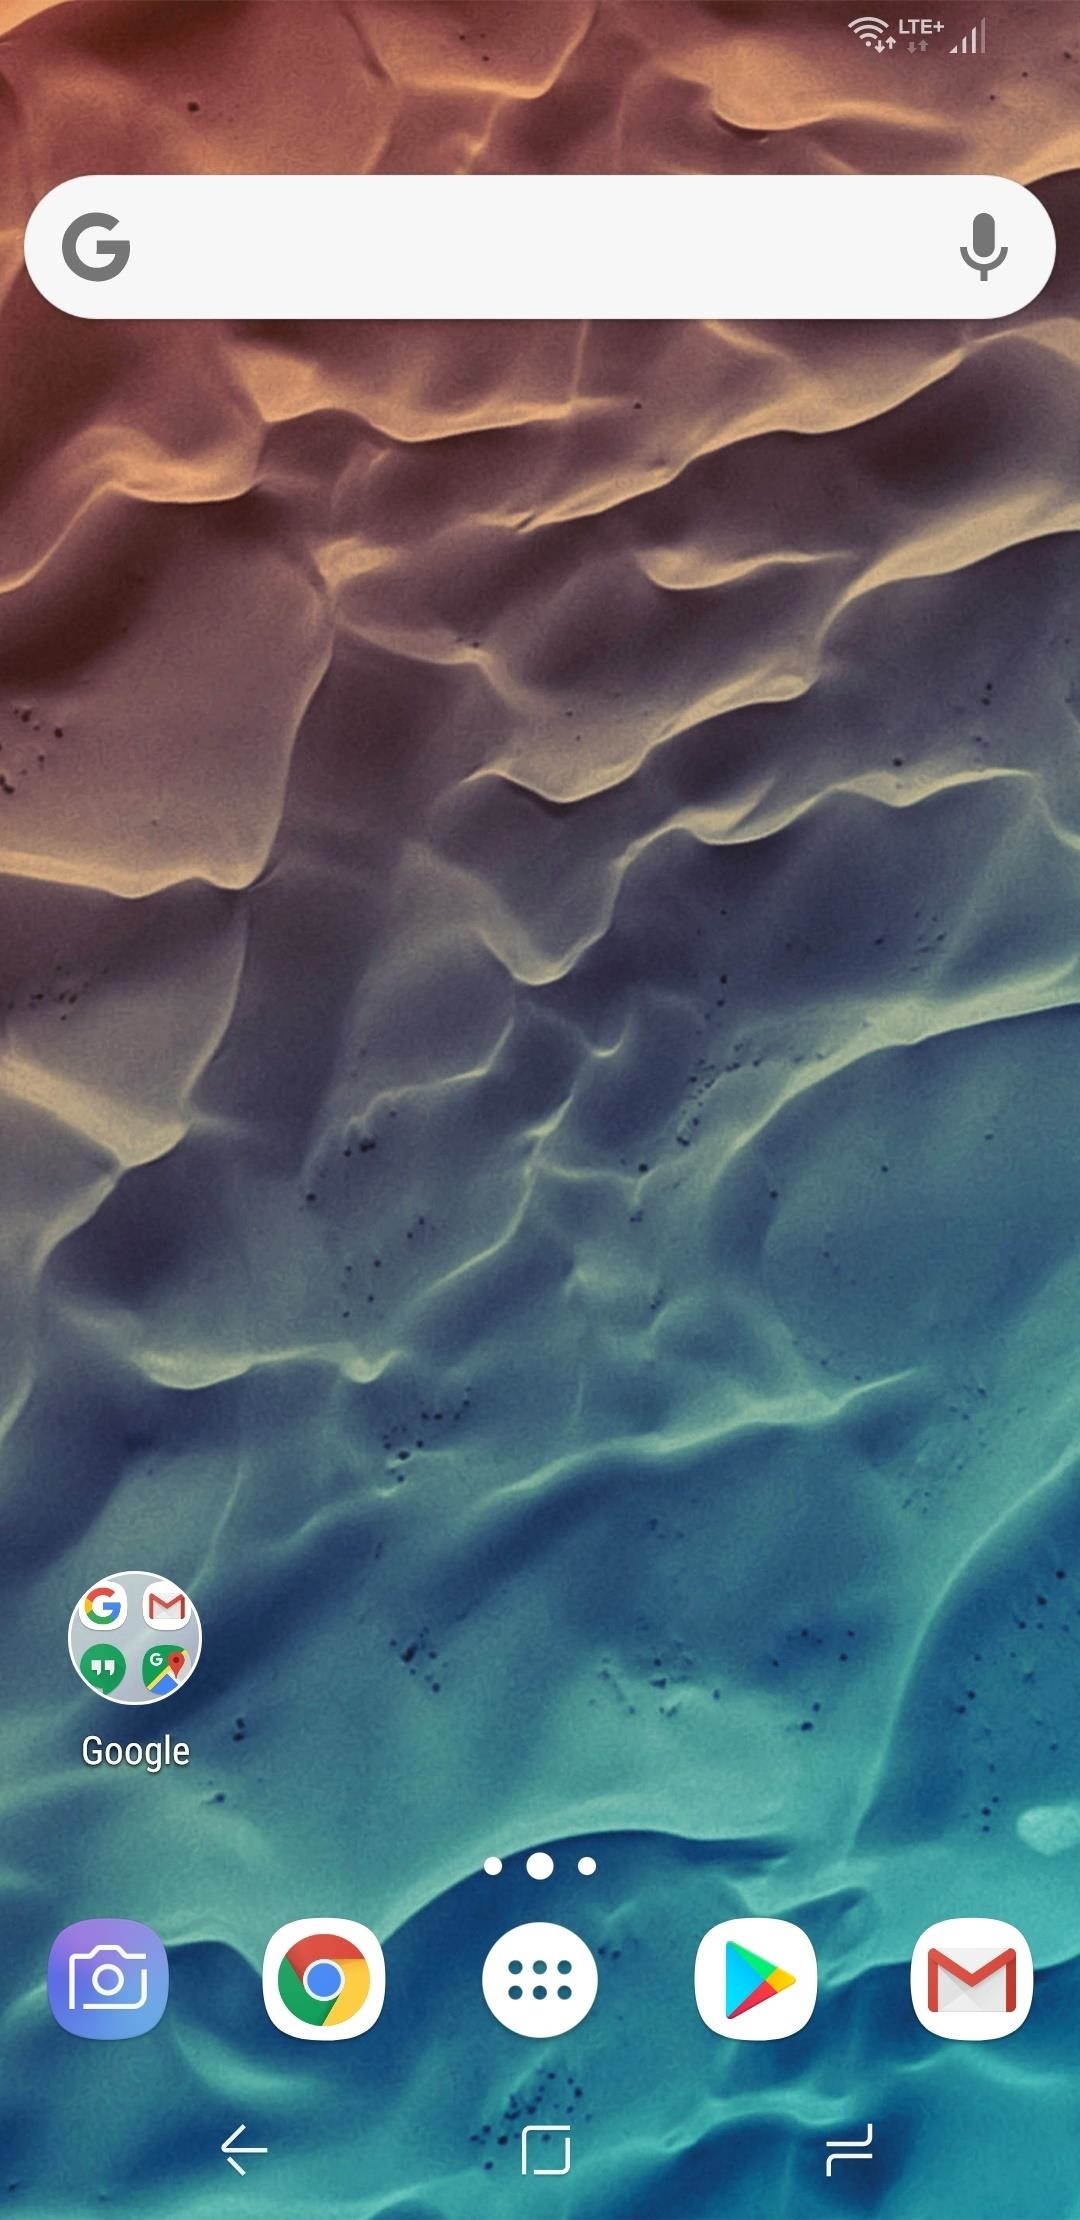
Method 4: Use a 3rd-Party Launcher to Avoid Bixby HomeBixby Home is tied to the Bixby key and to the default Samsung Experience launcher. Therefore, if you disable the key using Method 1 above, and use different launcher, you won't be bumping into Bixby Home on accident anymore.So as an alternative to Method 3, you can simply install a new home screen app to disable Bixby Home's dedicated page. Two of the best third-party launchers are Nova Launcher and Action Launcher. Nova is smooth, light, and customizable; with the option to create actionable widgets and shortcuts. Action can give you a taste of some of Android Pie's features. To try either out, simply install the app, press your home button, then choose "Nova" or "Action" from the prompt.Play Store Links: Nova Launcher (free) | Action Launcher (free) (1) Nova Launcher, (2) Action Launcher
Method 5: Disable Bixby PackagesYou may have been thinking you could disable Bixby the same way it's possible to with numerous other apps: through the App Manager. Yet if you visit Bixby through Settings –> Apps, you'll only find the option to disable is grayed out. Really? Bixby is that critical?Bixby can be disabled with the aid of a package disabler, but these apps are quickly shut down by Samsung. For a more permanent solution — one that will completely obliterate Bixby — we recommend using ADB to disable Bixby and any other bloatware you want to remove. No rooting is required, and the process is completely free, though you will need to hook your phone up to your computer and install Google's SDK tools to try this.Once you've got your computer set up, just find all of the packages with the word "Bixby" in their name and disable them. Not only will this disable the Bixby key, but it will also remove Bixby Home, Bixby Voice, and Bixby Vision in one shot. To see how this all works, check out our in-depth guide on the subject below.More Info: How to Disable Any Bloatware App on Your Samsung Galaxy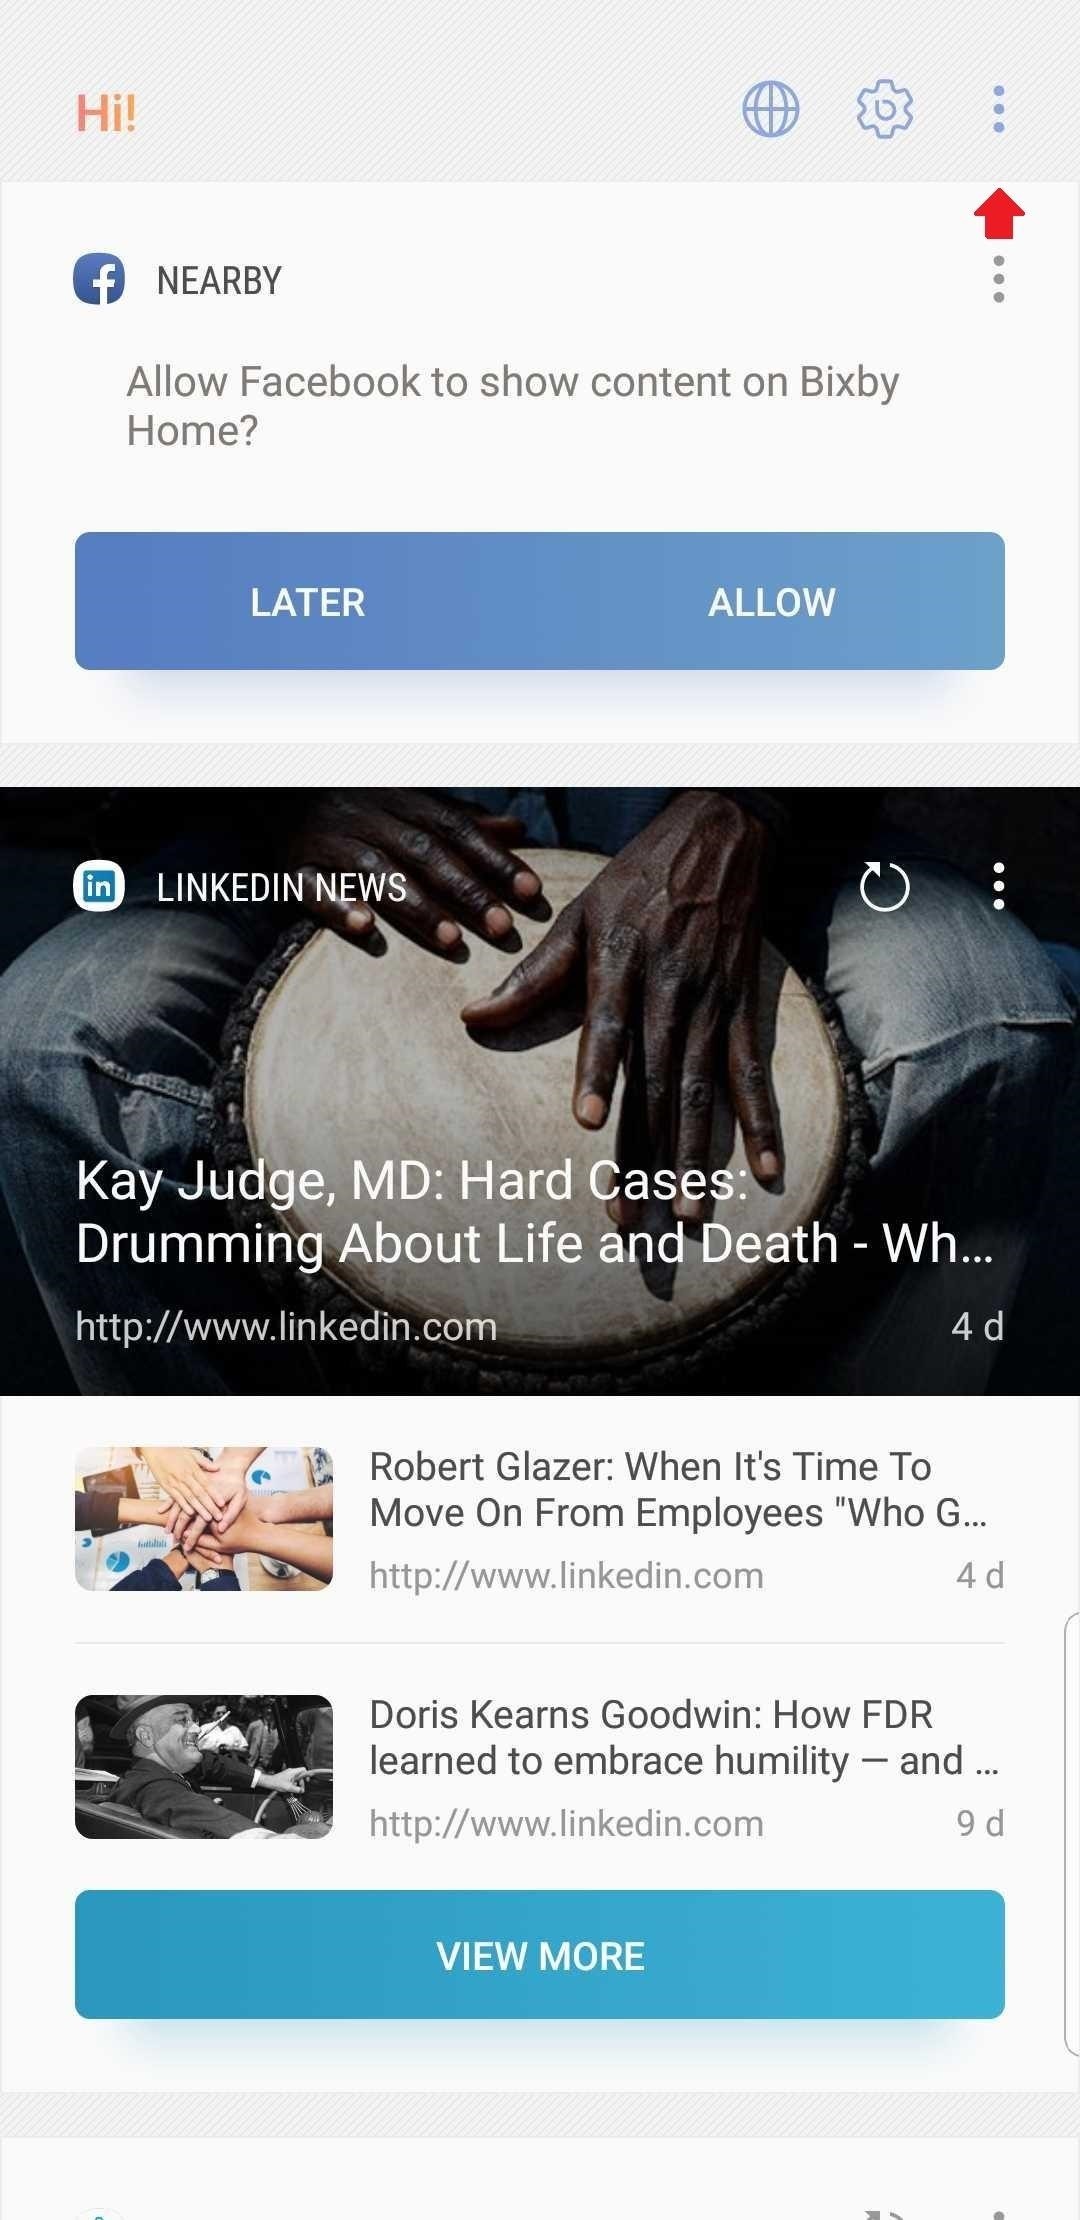
Method 6: For Samsung Note 9 Users Running 2.0.36.14 or LaterFor Note 9 users, there's some good news and bad news. The bad news is that you still can't disable the Bixby key completely (unless you use Method 5 above). The good news is that you can change your settings to prevent pressing the key accidentally. You can now choose for the Bixby activation button to require a double-tap instead of just a single-tap to open.To check it out, try pressing your Bixby key. Then visit the three-dot menu to the upper-right, and select Settings from there. Tap "Bixby key." It's here that you can opt to "Press twice to open Bixby." Hey, it's a step in the right direction, at least. Perhaps you'll discover that you miss Bixby, and want it back. For the most part, you can go back through the same first couple of steps required to disable Bixby, only this time sliding the toggle to enable it instead. You will probably want to start by enabling Bixby Home first, in order to have easier access to the other Bixby settings. The current version of Bixby does include a new interface, improved language processing, and smarter, more customizable recommendations, after all.Don't Miss: Tips & Tricks for Mastering Your Galaxy Note 9Follow Gadget Hacks on Pinterest, Twitter, YouTube, and Flipboard Sign up for Gadget Hacks' daily newsletter or weekly Android and iOS updates Follow WonderHowTo on Facebook, Twitter, Pinterest, and Flipboard
Cover image and screenshots by Delani Clatfelter/Gadget Hacks
With these simple tips and tricks, you can free up plenty of space on your Android device, and keep your phone's storage neat and tidy a bit longer. Step 1: Delete Unwanted Downloaded Files Android devices running 4.0 or higher come with a handy storage management interface.
How to Move Applications from Internal Memory to an SD Card
As Android owners, we ultimately have to look at our device and ask the difficult question: "Where the hell did all these applications come from?" We're all guilty of installing the latest and greatest app or game, but at some point we come to the realization that we're digital hoarders, reluctant to uninstall apps for fear that we might need them some day.
How To Delete Pre-installed Apps In Samsung Galaxy Note 8
Hidden Web Browser Found in New Nook Touch Reader
Do you use hashtags on Instagram? Wondering how to see posts with specific hashtags in your regular Instagram feed and stories? In this article, you'll discover how to use Instagram's Follow Hashtag feature to monitor relevant topics and campaigns. How to Follow Instagram Hashtags for Business by Jenn Herman on Social Media Examiner.
How to Create Quality Instagram Content to Engage Followers
Running out of storage space on your iPhone is annoying, but trying to free some up is downright aggravating. Until they figure out a way to throw a terabyte of flash memory in there, you're going to have to do some spring cleaning every now and then, especially if you're trying to update to iOS 8.
Can't take a photo? Use Optimize Storage to free up - iMore
Jun 04, 2018 · iOS 12 has a ton of updates to its Photos features. It features "search suggestions," where it will highlight key moments, places and events it thinks you'll be interested in.
The smartphone design we all want is finally real, but it's
How to Connect Instagram to Facebook. This wikiHow teaches you how to link your Instagram and Facebook accounts using the Instagram app for iPhone and Android.this is good cause it helps other phones too.Once your accounts are linked, you
How do I link or unlink my Instagram account to my Facebook
Media Streamers Leer en español Sling TV offers free Amazon Fire TV stick, Roku Streaming Stick, half-price boxes. Paying $60 in advance for three months of Sling TV service earns you the right
Roku Streaming Stick vs. Amazon Fire TV Stick: Best Stick For
For example, if the initial test displayed a discharge rate of -150 mA, add 150 mA to the measurement you receive for your charger and compare the total to your charger's listed output. Fluctuation of ~100 mA is to be expected, but anything past that could mean you have a faulty charger or cable.
Phone Charging Slow Lately? Here's How to Fix It - Why The
Android L will bring with it a fresh new look when begins rolling out to the public, and Google has crafted some fresh new Android commercials to go along with it. A trio of newly-leaked ads have
All 3 Leaked Google Ads [Nexus 6] [Android "L"] - YouTube
If you have forgotten your Microsoft account password and don't have access to the security information on your account, the account recovery form is a tool that you can use to provide additional information so that Microsoft can make sure that you (and only you) gain access to your account.
How to Reset Your Password or Find Your Username | Navy
Watch this video to learn how to get Hulu streaming video on your Nook Color or other Android device. To do this, you'll need to download a modified Adobe Flash player and Dropbox. Turn your Nook Color or Android device into a full service entertainment machine.
Turn a $99 Nook into a Fully Fledged Android Tablet in Four
Alternatively, you can use the popular CCleaner to uninstall default Windows 10 apps. Open CCleaner, click Tools and click Apps. Right-click on Camera app and then click Uninstall option. Click OK button when you see the confirmation dialog. Step 5: Finally, open the Store app, search for Windows Camera app and then install the same.
How to Fix the Most Annoying Things in Windows 10 | PCMag.com
Run the Same App in Split Screen in Android Oreo #4 Run any app in split screen mode on your device and then after that chose to select the Parallel Windows app on the other part of the Windows. Open the app and then from inside the app select the clone version of the app you have made before.
For Starhawk on the PlayStation 3, a GameFAQs Answers question titled "Can i play offline "Prospector Mode" splitscreen without logging in to both 2 accounts?".
How to turn off cellular radio in Lollipop/JellyBean using
0 comments:
Post a Comment